Introduction to Hollowing Models for Resin Printing
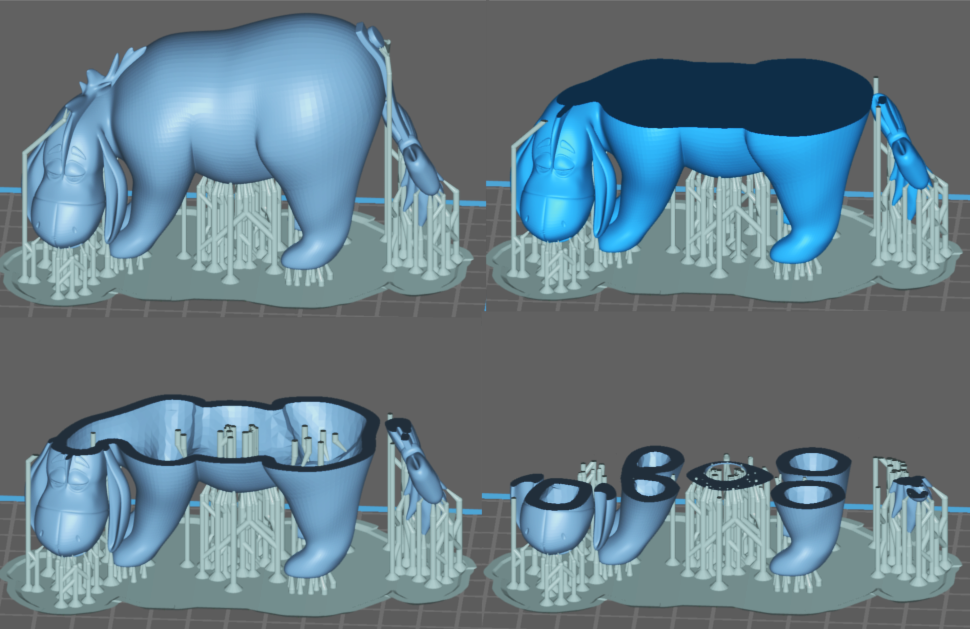
Resin 3D printing is renowned for its unparalleled ability to produce highly detailed and intricate models. However, to make the most of resin printing, hollowing your 3D prints is a critical step. Hollowing reduces resin usage, significantly cuts down printing time, minimizes print weight, and optimizes overall print quality. Autodesk’s Meshmixer is a powerful 3D mesh editing software, widely trusted by professionals and hobbyists alike, offering streamlined tools specifically tailored for resin printing preparations such as hollowing, drain hole placement, and print orientation.

In this exhaustive guide, we will delve deeply into the processes of hollowing your resin 3D prints effectively, exploring ideal wall thicknesses, strategic placement of drain holes, and optimal orientation practices within Meshmixer. Additionally, you’ll find practical tips and troubleshooting techniques to enhance your resin printing projects.
Why Hollowing Matters in Resin 3D Printing
Hollowing is not merely an optional step but an essential practice for resin printing efficiency. By hollowing your prints, you reduce resin consumption drastically, lowering material costs. The lighter weight of hollow models reduces the stress on support structures and printer components, prolonging the lifespan of your hardware. This technique also decreases the overall printing duration, improves curing efficiency, and facilitates faster post-processing by minimizing the amount of excess resin trapped inside the model.

Beyond economic benefits, hollowing positively impacts sustainability by decreasing resin waste. Resin is not only expensive but also environmentally challenging to dispose of; thus, efficient usage through hollowing contributes significantly to sustainable practices.
Ideal Wall Thickness for Resin Prints
Determining appropriate wall thickness is critical when hollowing 3D models. Walls that are too thin can lead to fragile prints prone to damage, while overly thick walls negate the resin savings and efficiency benefits of hollowing.
Recommended Wall Thickness Guidelines
Typically, the following guidelines for wall thickness are effective for most resin prints:
- Small, detailed models: 1.5mm – 2mm
- Medium-sized, moderately detailed models: 2mm – 2.5mm
- Large or structural models: 2.5mm – 3mm
These are general recommendations, and your specific wall thickness should be adjusted based on your model’s intended application, size, detail level, and resin type. Experimentation may be required to perfect the ideal thickness tailored to each unique print scenario.
Step-by-Step Guide to Hollowing in Meshmixer
Step 1: Model Preparation
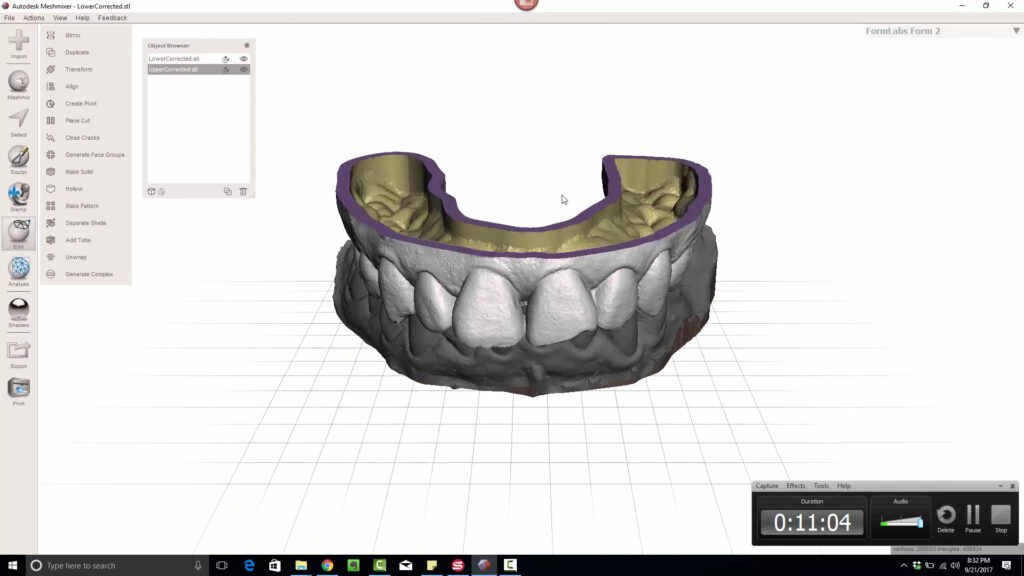
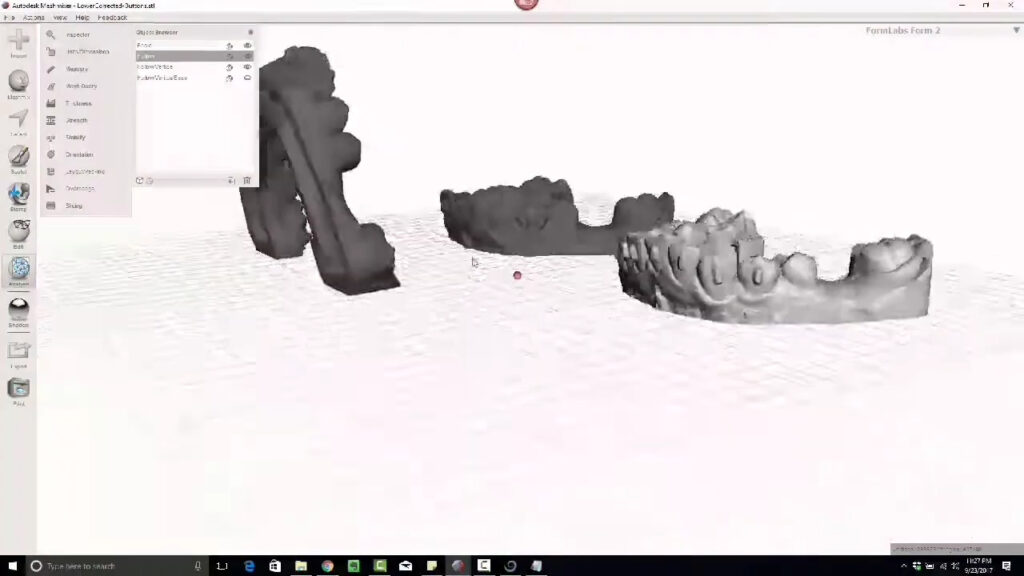
Begin by loading your STL or OBJ model file into Meshmixer. Perform a thorough inspection using Meshmixer’s powerful Analysis > Inspector feature to identify and resolve mesh errors. This ensures your model is watertight, a critical prerequisite for successful hollowing.
Step 2: Hollowing Procedure
- Select Edit > Hollow.
- Specify your desired wall thickness (typically 1.5mm – 3mm).
- Set offset accuracy to a higher level for enhanced detail retention.
- Preview the hollowed mesh and accept once satisfied.
Meshmixer’s hollowing tool uniformly removes interior material, preserving the exterior model’s details and structural integrity.
Step 3: Drain Hole Placement
Proper drain holes are crucial for preventing resin pooling and internal pressure build-up, ensuring successful and clean prints.
- Navigate to Edit > Generate Holes.
- Select a hole diameter (recommended range: 2mm – 4mm).
- Click on optimal locations, typically near the lowest points relative to your print orientation.
- Confirm the placement and accept your changes.
Strategic Drain Hole Placement
Drain holes are most effective when placed strategically:
- Position drain holes near surfaces facing the build plate.
- Include additional holes on opposite sides to facilitate airflow and drainage.
- Avoid placing holes near critical, detailed areas.
- Employ multiple smaller holes if large single holes risk structural integrity.
Optimal Print Orientation in Meshmixer
Orientation significantly influences the success of resin prints by reducing resin pooling, decreasing required supports, and enhancing print quality.

Key Orientation Considerations
- Minimize unsupported overhangs and reduce large flat surfaces parallel to the build plate.
- Tilt the print approximately 45 degrees for optimal balance between support usage, print time, and quality.
- Ensure drain holes are positioned effectively for efficient resin drainage during and after printing.
To refine your orientation:
- Access Analysis > Orientation in Meshmixer.
- Use intuitive interactive controls to fine-tune the model’s orientation.
- Factor gravity, resin drainage, and printer mechanics when positioning the model.
Advanced Hollowing Tips and Techniques
Smart Use of Supports
Using Meshmixer’s thin, branch-like supports strategically stabilizes prints without obstructing resin drainage paths. This approach minimizes post-processing clean-up and reduces the risk of surface scarring.
Internal Geometry Inspection
Verify internal wall thickness and structural consistency by virtually slicing your model within Meshmixer:
- Go to View > Slice to visually inspect internal geometries and ensure uniformity and effective hollowing.
Troubleshooting Common Hollowing Issues
Breakage of Models
- Cause: Wall thickness is inadequate.
- Solution: Slightly increase wall thickness or introduce internal support ribs for reinforcement.
Resin Entrapment
- Cause: Poorly placed or insufficient drain holes.
- Solution: Add or adjust drain holes to strategic low points for improved resin drainage.
Suction-related Print Failures
- Cause: Poor model orientation or inadequate airflow.
- Solution: Adjust model orientation angle, incorporate additional air holes opposite drain holes, and ensure thorough ventilation.
Best Practices Post-Hollowing for Resin Printing
- Allow adequate drainage post-printing and pre-curing.
- Thoroughly clean internal resin residues using isopropyl alcohol (IPA) or suitable resin cleaning solutions.
- Fully cure models, paying extra attention to internal surfaces to ensure structural integrity.
Enhancing Sustainability and Efficiency in Resin Printing
Adopting hollowing practices not only enhances your print quality but also significantly contributes to resource efficiency and environmental sustainability. Efficient resin use means lower operational costs, decreased environmental impact, and less post-processing complexity.
Conclusion
Effective hollowing of resin 3D prints using Meshmixer involves meticulous planning of wall thickness, strategic drain hole placement, and thoughtful model orientation. Mastery of these techniques delivers superior print quality, substantial cost savings, and improved sustainability in your 3D printing practice. Use this comprehensive guide as a detailed reference to elevate your resin 3D printing results consistently and reliably.
